

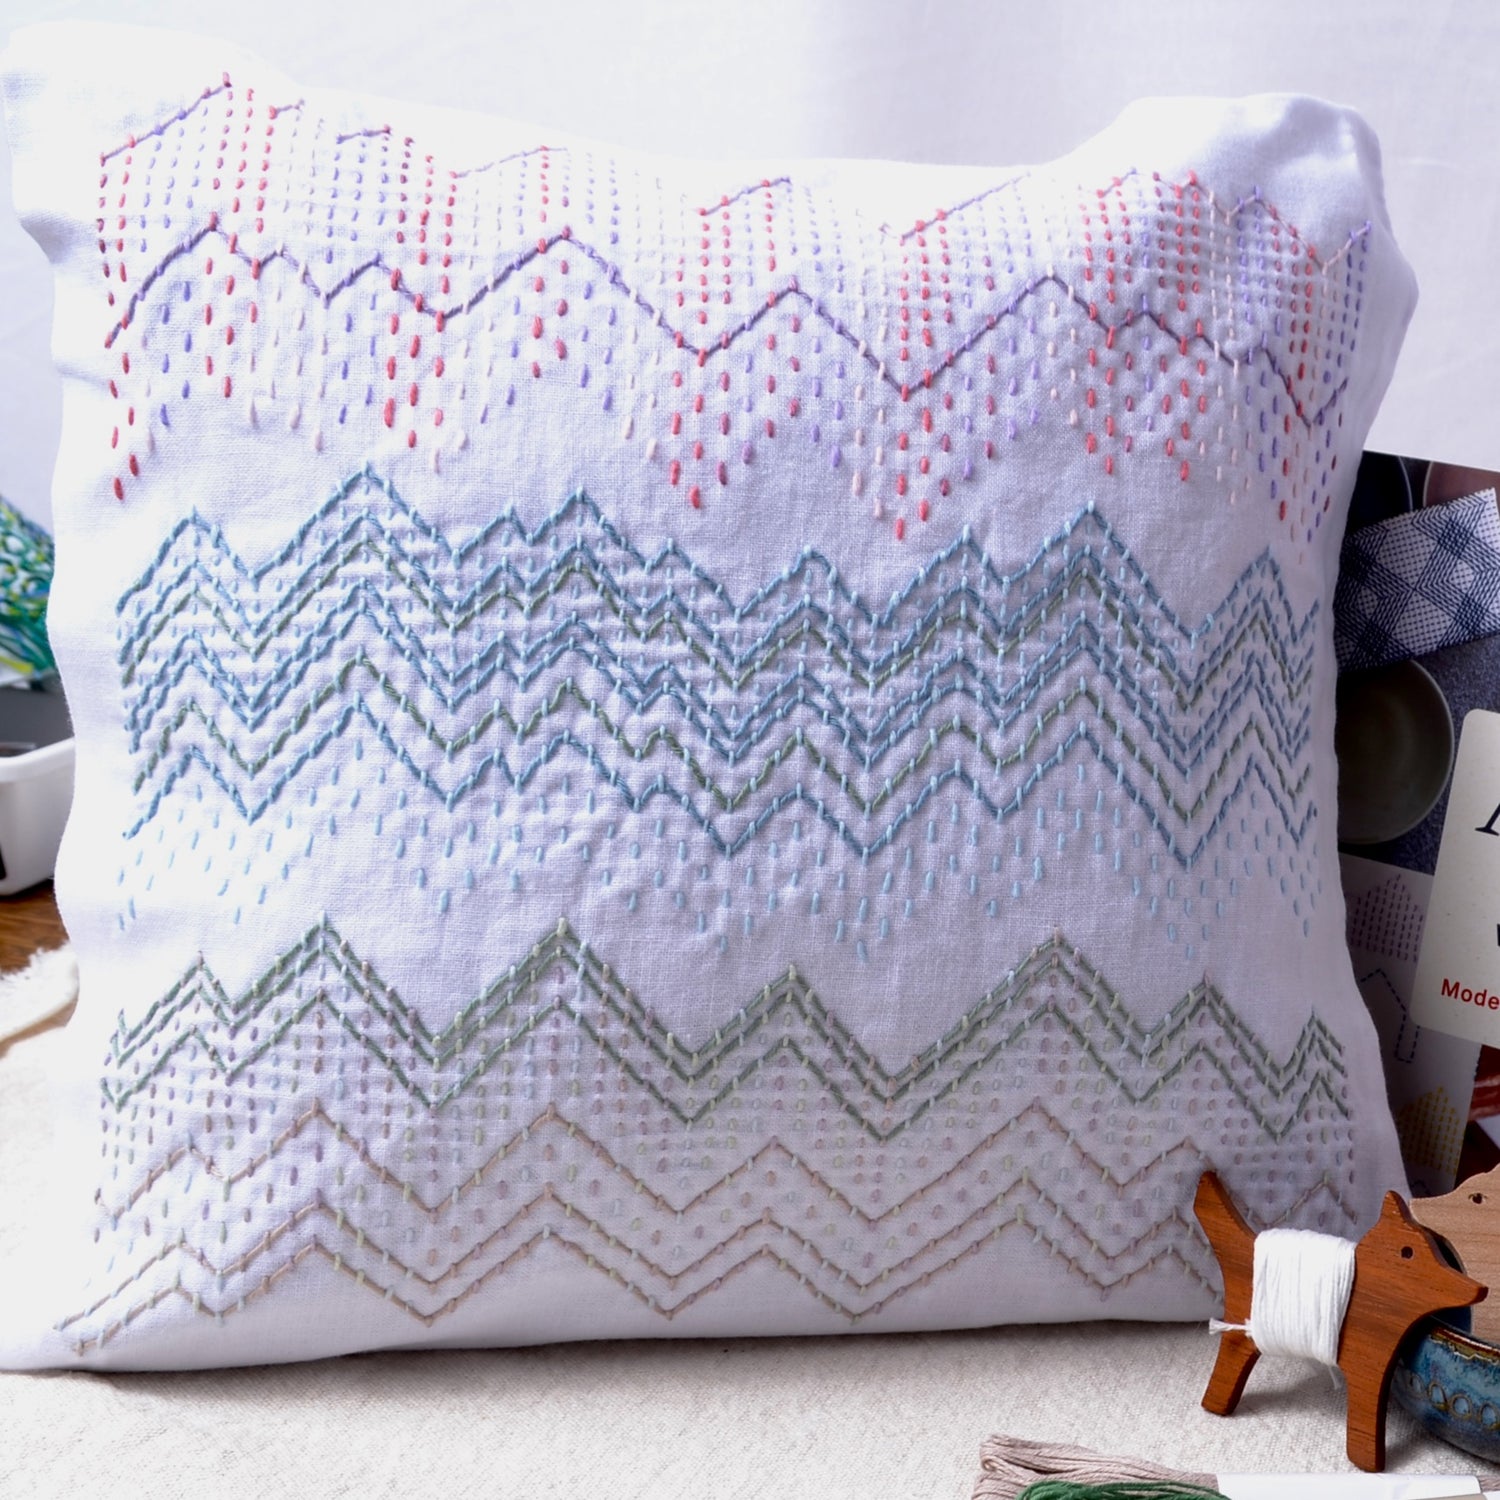
How to stitch "Peaks" sashiko design
This is how to stitch the Kugurizashi Sashiko kit called Peaks. I've written it to supplement the Japanese language instructions and stitching diagrams that come with the pre-printed fabric.
This is a very good project for trying the kugurizashi (weaving under stitches) sashiko technique for the first time.

Before I start the stitching instructions, here is some general information:
WHAT ARE HITOMESASHI AND KUGURISASHI SASHIKO?
If you already know this, slide down the page to the step by step instructions :-)
Hitomezashi is a type of sashiko stitching. Hitomezashi patterns are made up of single stitches that go from one side of the fabric to the other in straight lines. The stitching covers the fabric much more densely than the Moyozashi sashiko (large continuous line sashiko patterns).
Kugurizashi is a two part sashiko stitching technique which involves using the Hitomezashi stitching as the base layer and then weaving threads under the hitomezashi stitching to create beautiful patterns and textures.
Things you need to know before you start:
The pattern is printed on Japanese cotton fabric which is woven on traditional narrow looms.
The 12" x 12" design is printed on a 26" length of the fabric and you are meant to fold the unprinted half to the back of the printed half and stitch through both layers.
The printed design will disappear completely in water so keep it dry until you are finished. Also do not iron before it has been washed.
If you would like your cloth to have finished edges, fold the cloth in half with the printed side inside and stitch it together about 5/8" from the raw edge.
Now, turn the cloth right side out (print on the top) and finger press the seam flat (no ironing!)
Smooth the fabric layers out, and you are ready to begin your stitching.
Before we leave this general information section here are two photos to review two sashiko basics:
1. Putting many stitches on the sashiko needle at a time. This will give you straighter more even stitching, and it goes along much faster.

2. leave a loop on the back of the fabric when you carry a thread . This is important.


Leave a loop on the back of the fabric when you carry a thread.


2. The next step is the kugurizashi sashiko, which is weaving threads under the stitching part of the design.
When all the vertical stitching has been completed, start the weaving. To do this, start with a small knot on the back of the fabric and using the needle eye end of the needle, pass under the stitches as shown here. The fabric has a few of these lines printed for you to follow but it is up to you how many rows you want to do.


